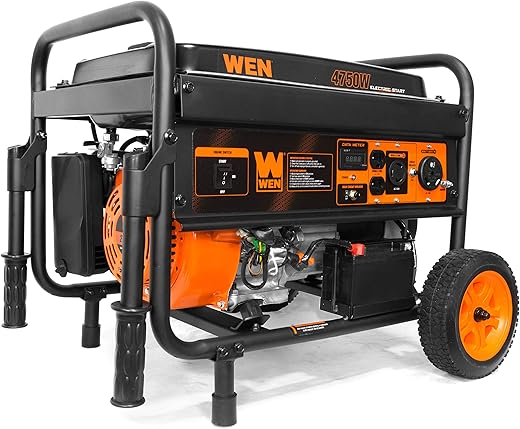
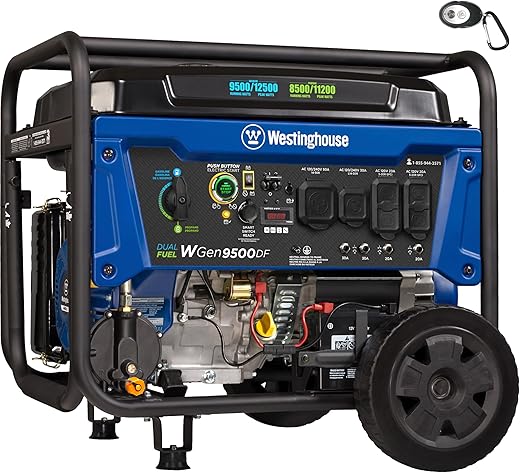
This step-by-step guide outlines how to start the Ryobi RYI2300BTA inverter generator, a dependable power source for activities like camping, tailgating, or as an emergency backup. The process begins with ensuring proper fuel and oil levels, followed by checking that the generator is on a stable surface and the choke is in the appropriate position. The next steps involve turning on the fuel valve, setting the generator’s ignition switch to the “ON” position, and finally, using the recoil starter to initiate the engine. The guide emphasizes safety precautions throughout to ensure efficient operation and longevity of the generator.
Troubleshooting a Ryobi Generator That Won’t Start
Check Fuel Level
Ensure the generator has enough fuel before starting it. Open the fuel cap by twisting it counterclockwise. Visually check the fuel level in the tank. If the fuel level is low, fill the tank with fresh unleaded gasoline. Avoid overfilling by keeping the fuel level below the maximum fill line.
- Use a funnel for easy pouring and to prevent spills.
- If using a fuel container, make sure it is clean and properly labeled for gasoline.
- Wait a moment after filling before replacing the fuel cap, allowing the fuel to settle.
Remember, using old or contaminated fuel can affect the performance of the generator, so always opt for fresh gasoline when necessary.
Set Up the Generator
Position the generator on a flat, stable surface that can support its weight without risk of tipping. Ensure the location is away from any flammable materials such as dry grass, leaves, or vehicles, as these can pose a fire hazard. Place the generator in an open area with sufficient ventilation to allow for the safe dispersal of exhaust fumes. Avoid tight spaces, such as garages or basements, where carbon monoxide can accumulate and create dangerous conditions.
Maintain a minimum distance of at least 20 feet from your home and any other structures when setting up the generator. Make sure that the exhaust is directed away from windows, doors, and ventilation intakes to prevent fumes from entering living spaces. Regularly check the area for any obstructions or materials that could catch fire, and ensure there is ample airflow around the generator for optimal performance.
Turn on the Fuel Valve
Locate the fuel valve switch on your generator, typically situated along the fuel line or near the fuel tank. Inspect the switch for a clear marking indicating its function; it usually features an ‘ON’ and ‘OFF’ label. Once you identify the switch, firmly push or turn it to the ‘ON’ position. This action permits fuel to flow from the tank to the engine, which is essential for starting and operating the generator effectively.
Ensure that the switch engages fully by feeling for a distinct click or visual confirmation. After switching it to the ‘ON’ position, look for any signs of fuel leakage around the valve and lines for safety. If everything appears secure, you are now ready to proceed with starting the generator.
Set the Choke
- Move the choke lever to the ‘CLOSED’ position if you are starting the engine when it is cold. This restricts airflow, allowing a richer fuel mixture for easier starting in lower temperatures.
- Ensure the lever is fully engaged in the ‘CLOSED’ position. This will help the engine draw in more fuel, making it more likely to ignite on the first attempt.
- If the engine is already warm, set the choke to ‘OPEN’. This allows for proper airflow, ensuring the engine runs smoothly without flooding.
- Check the choke lever position before turning the ignition to avoid unnecessary starting issues and to maintain optimal engine performance.
- After the engine starts and runs smoothly for a few moments, you can gradually return the choke to the ‘OPEN’ position if it was set closed.
Start the Engine
Pull the recoil starter handle firmly to crank the engine. Ensure you grip the handle securely and pull it quickly towards you. This motion should be a swift, strong tug that allows the engine to catch. If the engine doesn’t start after a few attempts, revisit the choke and fuel settings. Check that the choke is in the correct position—if it’s closed, try opening it slightly, as excessive choking can prevent the engine from starting.
Adjust the fuel settings by ensuring the fuel valve is turned to the “on” position. If your generator has a primer bulb, press it a few times to draw fuel into the carburetor. If you’ve adjusted these settings, return to pulling the recoil starter handle again. If the engine still won’t start, reassess all connections, including checking for fuel in the tank and ensuring that the ignition switch is in the “on” position.
Monitor Engine Operation
Observe the engine operation immediately after starting. Listen for any irregular sounds and watch for smooth idling. If the engine runs steadily without stalling, confidently move on to the next step in your process.
If the engine stalls, immediately check the fuel supply and choke settings. Ensure there’s enough fuel in the tank and verify that the choke is correctly positioned based on engine requirements. Adjust the choke as necessary and attempt to restart the engine again.
Connect Your Devices
Ensure the generator is operating correctly before connecting any appliances or devices. After confirming that it’s running smoothly, select appropriate extension cords suitable for outdoor use and rated for the generator’s wattage output. Check the wattage of your devices; for example, smaller appliances like a coffee maker may draw around 800 watts, while larger items like a refrigerator may require up to 1,500 watts.
Plug the extension cords into the generator’s outlets, making sure to distribute the wattage evenly among the devices to avoid overloading any single outlet. If you connect multiple devices, use a power strip with a built-in circuit breaker to provide an extra layer of protection. Always remember to keep the generator in a well-ventilated area to prevent carbon monoxide buildup, and never operate it indoors or in enclosed spaces.
Final Thoughts on Starting
In conclusion, starting the Ryobi RYI2300BTA inverter generator is a straightforward process when you follow the necessary steps. By ensuring your fuel levels are adequate, setting up the generator correctly, and adhering to the guidelines provided in the user manual, you can achieve safe and efficient operation. Always prioritize safety and refer to your manual for any specific instructions or precautions to maximize the performance and longevity of your generator. With these measures in place, you’ll be well-prepared to start your generator with confidence.
Essential Equipment Needed
Startup Simplified
Step-by-Step Instructions for Operating the Ryobi RYI2300BTA Inverter Generator
- Read the Manual: Before operating the generator, I carefully read the user manual to familiarize myself with the features, controls, and safety precautions specific to the Ryobi RYI2300BTA
- Check Oil and Fuel Levels: I ensure that the generator has the appropriate amount of oil and gasoline. I use high-quality unleaded gasoline and check the oil level to confirm it’s within the recommended range
- Set Up in a Safe Location: I place the generator on a flat, stable surface away from any flammable materials and ensure it’s in a well-ventilated area to prevent carbon monoxide buildup
- Start the Generator: I turn the fuel valve on, set the choke (if necessary), and pull the starting cord to start the generator. I allow it to warm up for a few minutes before connecting any devices
- Connect Devices: Once the generator is running smoothly, I plug in my devices, ensuring that their combined wattage does not exceed the generator’s rated output. I also follow the recommended order for connecting and disconnecting devices for safety
- By following these steps, I can safely and effectively operate my Ryobi RYI2300BTA Inverter Generator
Essential Information and Common Queries
The Ryobi RYI2300BTA inverter generator is equipped with several safety features designed to ensure safe operation. These include:
- Low Oil Shut-off: This feature automatically turns off the generator when the oil level drops too low, preventing engine damage.
- Overload Protection: The generator has a built-in circuit breaker that disconnects the output power if it becomes overloaded, safeguarding both the generator and the connected devices.
- Safety Compliance: The generator is designed to meet various safety standards, ensuring reliable and safe operation in accordance with industry regulations.
- Quiet Technology: Although not a traditional safety feature, its quieter operation contributes to a safer environment, minimizing noise pollution and reducing the risk of disturbing nearby areas.
These safety features collectively enhance the reliability and security of using the Ryobi RYI2300BTA inverter generator.
The Ryobi RYI2300BTA weighs approximately 55 pounds. Its weight, combined with its built-in handle and compact design, makes it relatively portable for a generator in its class. However, it may require assistance for transport over longer distances due to its weight.


Can’t believe how quiet it is! Super impressed.
Got stuck at the start-up step. Your guide saved me! Thanks!
I love the portability of this generator! Perfect for camping trips.
What’s the best way to store it when not in use?
Wish I had seen this sooner! I struggled with the manual lol.
Do you need to do any maintenance before starting it for the first time?
Any advice on the best fuel to use? I want to keep it running smoothly!
This generator really packs a punch for its size! So glad I bought it.
Thanks for the tips! Just got mine and can’t wait to try it out!